How Our Attic Stair Installation Process Works
Getting Started
Just get in touch and send through your address or suburb.
If you can, include a photo of your current manhole or the area where you’d like attic access, along with a photo of your roof space. This helps me get a better idea of the setup and whether it’s likely to suit an attic stair install.
Booking
Once you’re ready to book your attic stair install, simply get in touch at atticstairinstalls@gmail.com or through the website.
We’ll let you know whether a site visit is needed. If you can provide clear photos of your manhole and roof space, we may be able to give you an estimate first. If not, we’ll arrange a site visit and provide a formal quote.
We do sometimes book up a few weeks in advance, so it’s worth getting in touch early if you’re wanting your attic stairs installed by a certain date.
Site Visit
I’ll check your attic space, access points, roof orientation, and framing to make sure everything is suitable for the install. Good chance to answer any questions before we lock everything in.
Installation Day
Your attic stair installation is completed with care and respect for your home. We keep the work area tidy from start to finish and make sure the install is done properly.
Depending on the job, your location, and our workflow, the stair installation and attic flooring may be completed over two days.
Do you paint the trims?
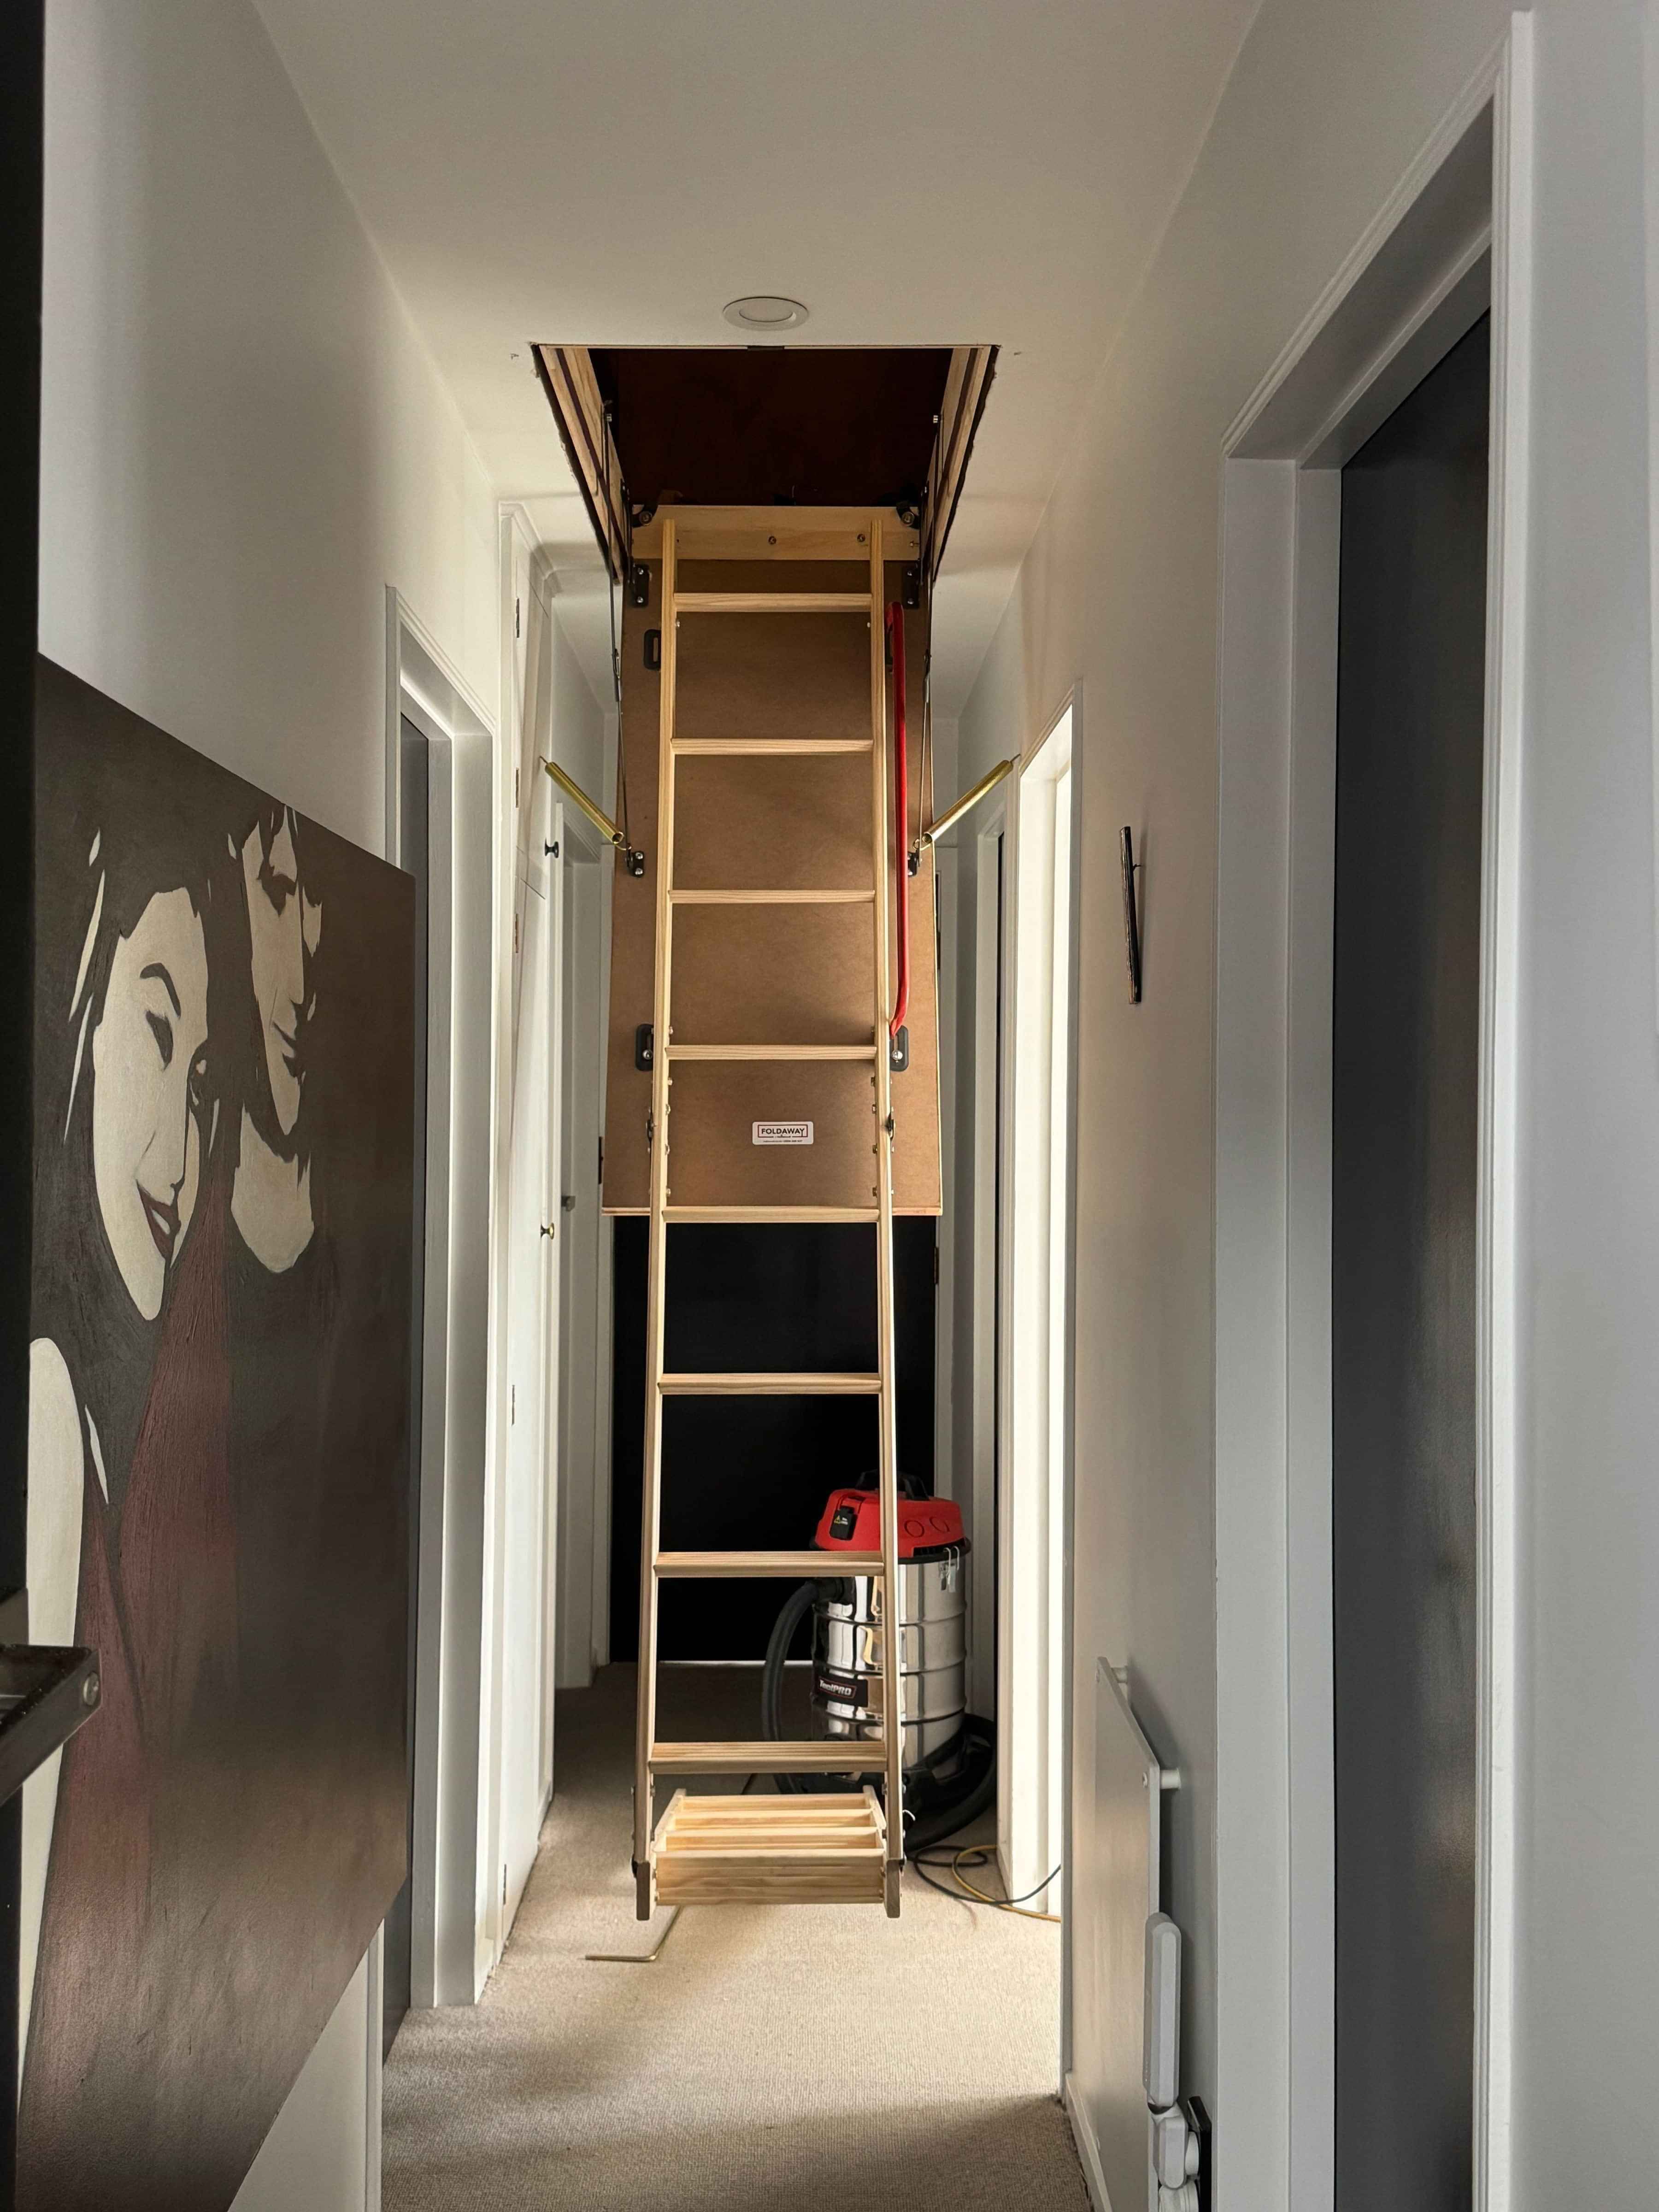
We install pre-primed white trim around your attic stair opening. As the trim is fixed in place, there may be small pin holes visible.
We can fill these for you on request, however painting is not included as part of our service. Painting generally requires multiple coats and return visits, so most clients choose to touch this up themselves with a flat white paint.
It’s a simple finishing step and usually only needs 2–3 coats for a tidy result.
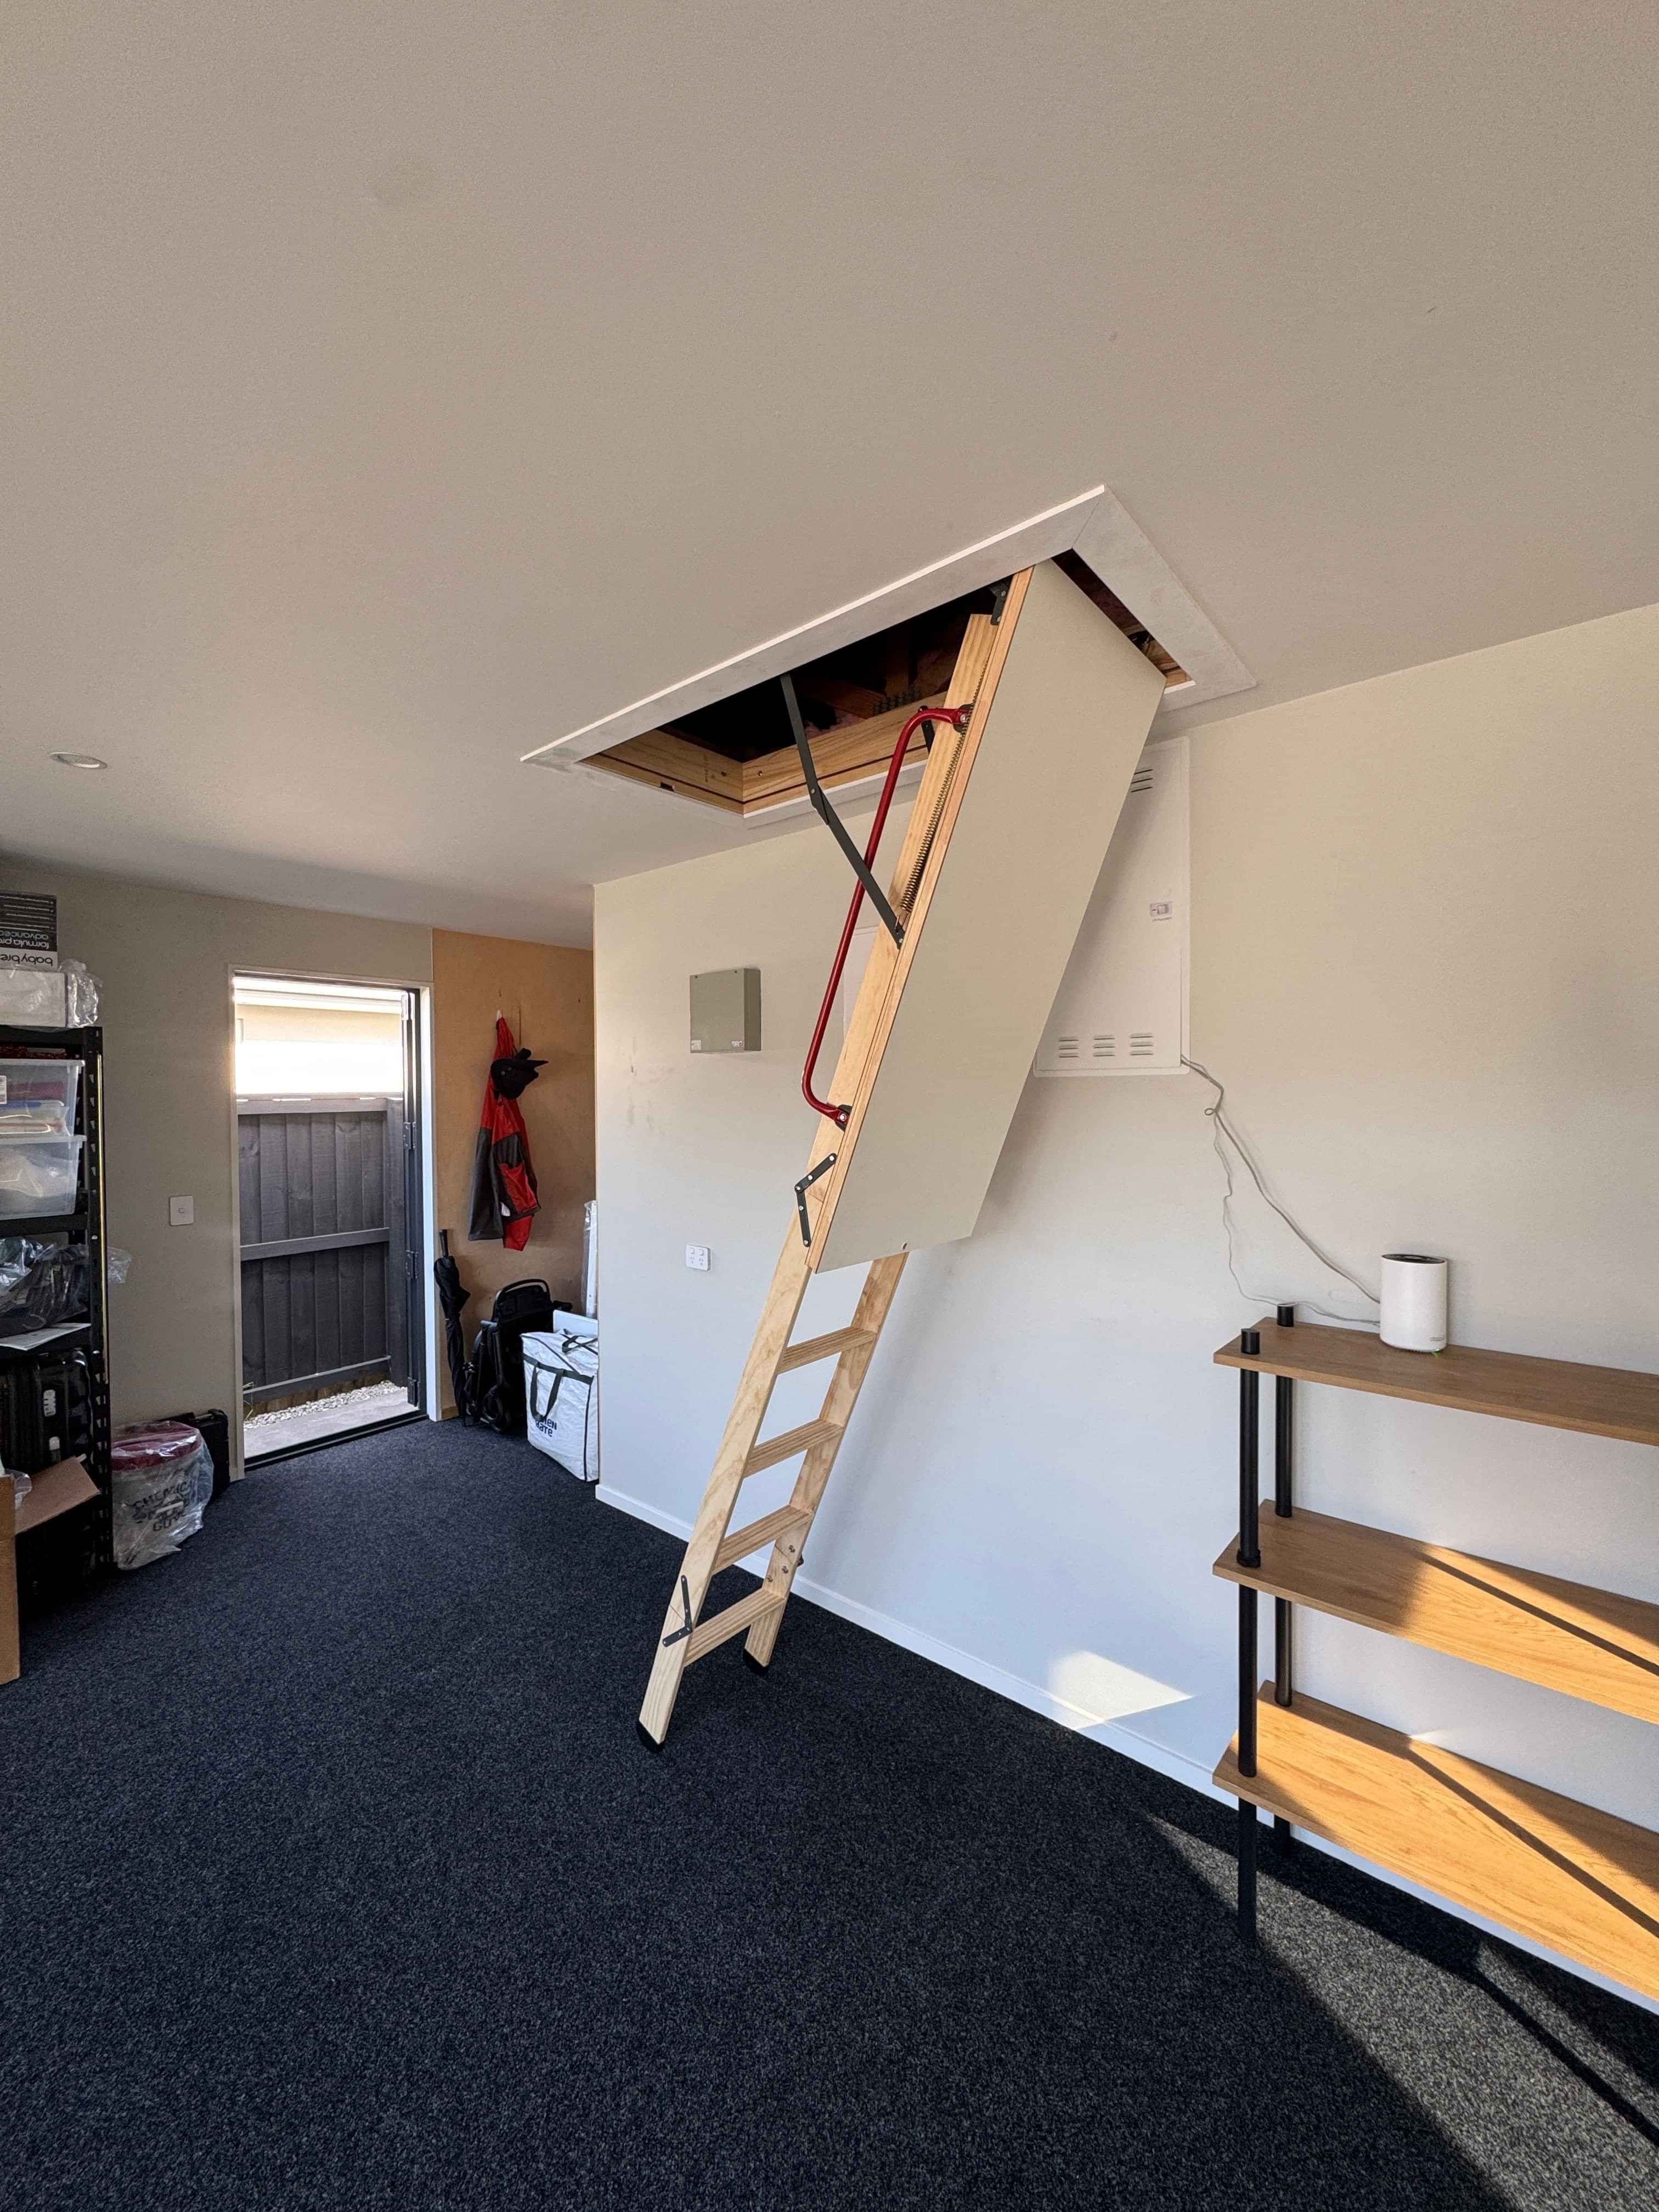
What Ceiling Height Can You Install To?
Our standard attic stair pricing is based on ceiling heights between 2.4m and 2.7m, which is the most common range for Christchurch and Canterbury homes. This is usually the most cost effective option, as standard attic stair units suit this height range.
Ceilings above 2.9m to 3m may incur a significant cost increase, as they require a taller attic stair unit, which is considerably more expensive to supply and install.
Upfront Pricing
With Attic Stair Installs, we like to keep things clear from the start. You’ll receive an estimate before anything begins, and we’ll always discuss the price with you first so you’re happy before we come out for a site visit.
No hidden extras or last-minute surprises .. what’s agreed is what gets charged.
Cleaning Up Your Space
Once the attic stair installation process is complete, I make sure the workspace is spotless.
All packaging and offcuts are tidied up and removed, no mess left behind.
Why choose Attic Stair Installs?

Licensed Builder
Installed by a Licensed LBP Builder ensures you get a skilled, trained tradesperson.
Honest pricing
With estimates given up front, you can plan your attic upgrade with full confidence from the start.
Tidy work
Every install is left clean and tidy.
Local knowledge
Based right here in Christchurch, Canterbury. We know what local homes need and always focus on reliable Attic Stair Installs.
Ready to make your roof space more usable?
Send through a few details and photos, and we’ll provide a clear estimate or arrange a site visit if needed.
Attic Stair Installs
By Southern Buildworks
Please email all correspondence to
Atticstairinstalls@gmail.com